You must consolidate the snow before you can build a snow cavern. To prevent the cave from collapsing, the walls and roof must be at least one foot thick. To trap the coldest of air, you can dig a small pit in the cave floor. Block the entrance with snow chunks to absorb wind and heat. To completely block the cave entrance, you can use drifting snow.
Construction of a snow cavern
You will need at least four to five feet of snow to make a snow cave. It should be in a protected area from avalanches. You need to shovel the snow deep enough to create a solid snow heap. If possible, the entrance should be located on the slope's leeward side. Before you make your first move, it is important to assess the snow conditions and the location.
Once you have collected enough snow, dig a deep hole in the snow. The snow should be dense and compact and the depth should equal your height. After digging the entrance, you will be able to start tunneling upward. Make sure that the tunnel is large enough for you and your friend to be comfortable. You should always keep a shovel handy in case of an emergency when building a snow cave.

Since snow condensation can quickly form, the walls and roof of your snow cavern should be at minimum one foot thick. A dome-shaped design will give you better stability. This allows condensation to roll down walls and not form on your body. You should also consider the type of snow you're using, as some types of snow may not bond properly with air. It's also best to block the entrance with snow to ensure ventilation and prevent suffocation.
Construction of a Snow Igloo
Snow igloos are based on the simple principle that snow crystals should be packed tightly. Cut a small hole into the center of each block and fill it with a layer of snow. This snow is surprisingly light and durable. Even though many people think that a snow Igloo won't keep its occupants safe, it is possible to survive in such cold temperatures with proper insulation.
To begin the process, prepare the snow igloo site. Dig out an area about 10 feet wide. With a shovel, compact the snow mound. You can then lay the snow angel in the snow mound. Cut blocks of equal size. The smaller the blocks, they will have fewer seams and the igloos will be more structurally sound.

For the construction of an igloo, a shovel or bucket will be needed. Instead of using a shovel, you can also use plastic tubs and shovels. You can also use the snow mounds or blocks as a mold for ice-bricks. When building the igloo, you should make sure that you have enough snow to cover the floor, as top layers of dry powder will not work.
FAQ
What should I buy first when prepping?
You must ensure you have enough water bottles for everyone on your trip. They are essential!
You also want to make sure you have plenty of sunscreen lotion. It doesn't really matter if your destination is hiking or the beach, you will still need sunscreen lotion.
Make sure to keep extra batteries on hand for any electronic devices. Don't forget to bring some sunglasses. Once you arrive, you'll be surprised at how much glare will be.
What do I need to know before starting my doomsday prep?
First, collect information about the locality. What are the most common natural disasters that could occur in your region? Are there any major dangers?
Flood insurance is something you should seriously consider if you are in a flood-prone area. Flooding is the greatest threat to your life during a crisis.
Buy tsunami insurance if there are coastal areas. Tsunamis can be caused by underwater earthquakes. They often occur without warning, so it's best to be prepared.
Next, consider how long you will be able to survive on your own. How long will you be able to fend for yourself?
Will you only be gone for a few days? Or will you be away for several weeks or months?
Will you be living alone? If so, you might want to add a weapon. It doesn’t matter if it is a gun oder a bow & arrow. Just make sure you're comfortable using whatever tool you decide upon.
Other than weapons, tools like a shovel or axe, saw and hammer, nails, rope and other items are important. These tools are useful for making shelters, or creating makeshift weapons.
Finally, you'll likely want to stock up on extra food and water. Make sure you have enough food for several days.
Remember, you don't always need to buy every item on this list. However, it is important that you at least get started.
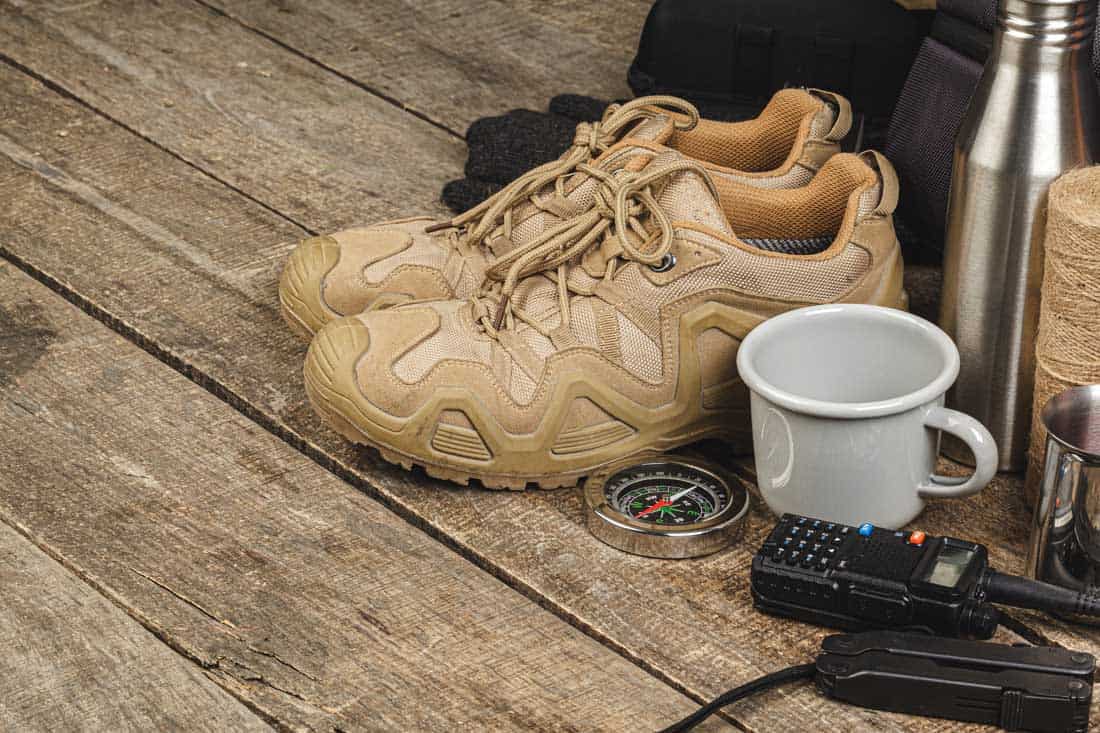
What should you include in a bugout bag?
A Bug Out Bag (BOB) is a kit designed to help you survive 72 hours without food, water, shelter, or communication. The kit includes a flashlight, whistle and fire starter as well as a whistle, flashlight, whistle, handkerchief, match, rope, matches, rope, handkerchief, toilet papers, hygiene items, sunscreen, sunglasses. It also contains a hat, bottled drinking water, energy bars, batteries, an emergency blanket, and other necessities.
Consider that you may only use half the items you put in your BOB. Choose wisely.
Statistics
- Receiving 11.2 percent of votes in our reader survey was a propane torch. Background: This summer, we surveyed our readers about what they’d shove into a backpack if they were caught unprepared for the collapse of society. (inverse.com)
- Approximately a hundred and seventeen million people earn, on average, the same income they did in 1980, while the typical income for the top one percent has nearly tripled. (newyorker.com)
- In the first ten months of 2016, foreigners bought nearly fourteen hundred square miles of land in New Zealand, more than quadruple what they bought in the same period the previous year, according to the government. (newyorker.com)
External Links
How To
How to Find Potable Drinkable Water in a Survival Situation
You can save your life by finding potable water in a life-threatening emergency. When you're in a survival situation, you need to know how to find potable water fast and efficiently. You need enough water to sustain you until help arrives. You could become sick or even die if you don't have clean drinking water.
We'll be sharing some tips to help you find potable water in a crisis. We'll be discussing the types of water sources and which ones work best in different situations. We will show you how to purify and filter your water for safe drinking. We will also discuss how water can be stored for future use.
What Types Of Water Sources Do You Have?
When you're out in the wild, you'll probably be surrounded by various water sources, including streams, lakes, ponds, rivers, springs, oceans, and rainwater. These water sources are available throughout the year or only during certain seasons, depending on where they are located. There are many factors to consider when choosing the right water source for you.
First, determine whether fresh water is available to you. This means that you should consider whether you will have easy water access to streams, rivers or springs. Second, consider whether or not you have access to clean water. Because it is difficult to treat water contaminated with urine and feces, you should not collect it. You will also need to determine how much water your family will be using. You will need to consider how long you are going to be out of your home, how dry and hot it is, what size your family is, and how many people you have. Fourth, you'll need to figure out how to transport the water you gather. It can be difficult to get water from some sources. For example, you might have to carry a heavy container full of water across a steep hillside. You should also consider the weather conditions when selecting a water source. A stormy day might mean that you shouldn't depend too heavily on rainwater, while a sunny day might allow you to collect water without fear of contaminating it.